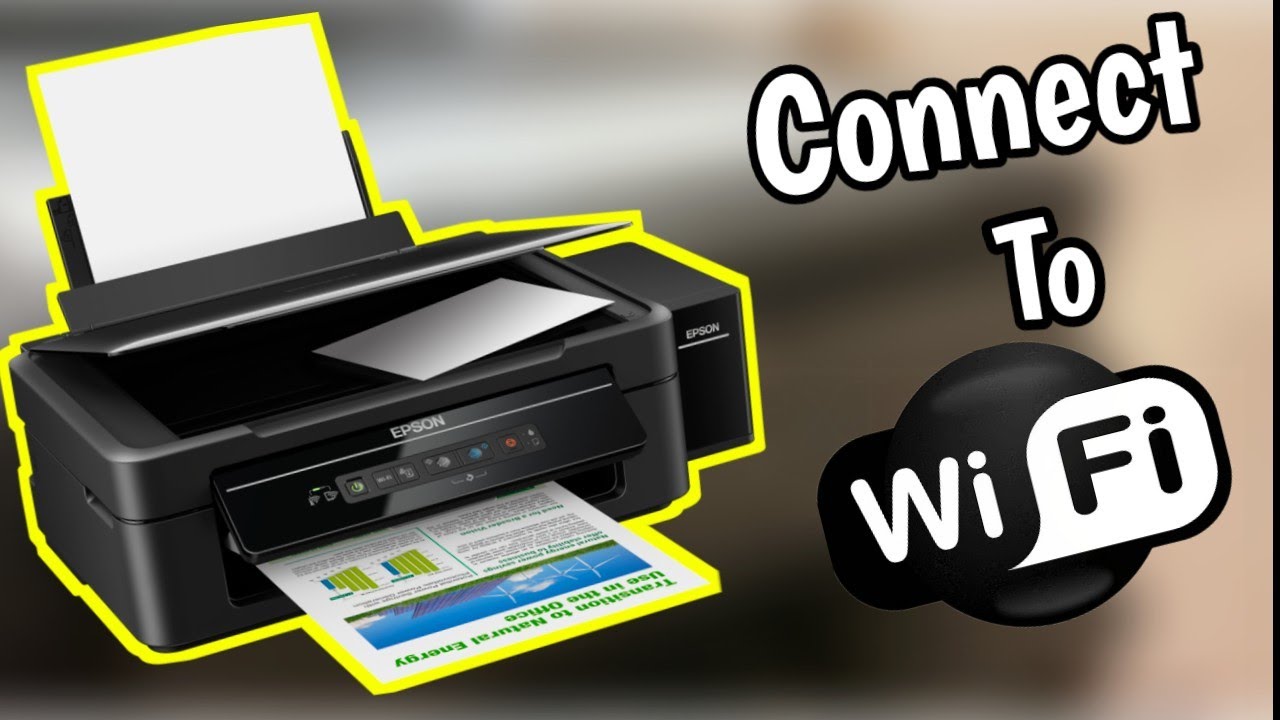
Connecting your Epson printer to Wi-Fi lets you print without using cables. It also makes it easy to print from phones, tablets, and laptops. Most Epson printers today support wireless printing. This is helpful for both home and office use.
When your printer is connected to Wi-Fi, you can place it anywhere in your space. You don’t need to keep it next to your computer. This setup also allows more than one person to use the printer on the same network.
Setting up Wi-Fi on an Epson printer is not hard. You just need to follow a few simple steps.
Detailed Steps
-
Turn on the printer and ensure it’s within range of your Wi-Fi network
Start by switching on your Epson printer. Make sure it is placed near your Wi-Fi router. A strong signal is important for a smooth and stable connection. If the printer is too far, the setup may fail or drop later. -
Access the Wi-Fi setup
The next step depends on your printer model.-
For printers with a screen display:
Press the Home button on the control panel. Use the navigation buttons to go to Settings. From there, select General Settings, then Network Settings, and finally tap Wi-Fi Setup. This will open the wireless setup menu. -
For printers without a screen:
These models use different steps. You’ll need to refer to your printer’s user manual or go to Epson’s official support website. It will show you how to start the Wi-Fi setup process. Usually, it involves pressing and holding specific buttons on the printer.
-
-
Choose Wi-Fi Setup Wizard
Once you’re in the Wi-Fi Setup menu, select Wi-Fi Setup Wizard. This option tells the printer to search for available wireless networks in the area. -
Select your Wi-Fi network
After a few seconds, the printer will display a list of all nearby networks. Find your home or office Wi-Fi name in the list and select it. Be sure to pick the right one if there are many networks with similar names. -
Enter your password
When prompted, carefully enter your Wi-Fi password using the printer’s keypad or touch screen. Make sure there are no mistakes with capital letters, numbers, or special characters. -
Confirm connection
Once you enter the password, the printer will try to connect. This may take a minute. When it’s successful, you will see a message like “Setup Complete” or “Connected” on the printer screen. If not, double-check your password and try again. -
Test the connection
Finally, print a test page. This confirms that your Epson printer is now connected to the Wi-Fi network and ready to use for wireless printing from your computer or mobile device.
Alternative Methods (if needed)
Sometimes, the standard Wi-Fi setup might not work or may not be available. In such cases, you can try other ways to connect your Epson printer. These methods are helpful if your printer doesn’t have a screen or if your network has special settings.
Wi-Fi Direct
Wi-Fi Direct allows you to connect your device straight to the printer without using a Wi-Fi router. It creates a direct wireless link between the two. This is useful when no network is available, or if you want a quick connection.
To use Wi-Fi Direct, check if your printer supports it. You’ll find this information in your printer’s manual or on Epson’s support website. Follow the steps given to turn on Wi-Fi Direct and connect your phone or computer.
WPS (Wi-Fi Protected Setup)
WPS is another quick method for setting up a connection, especially if your router and printer both support it. There’s no need to type in a password.
Here’s how to do it: Press and hold the WPS button on your Wi-Fi router for a few seconds. While the router is in pairing mode, press the Wi-Fi button on your Epson printer. The devices will link automatically. Wait for the connection to complete. This is a fast and easy method for many home networks.
Epson Connect
Epson Connect is a cloud printing service offered by Epson. It lets you print from your smartphone, tablet, or computer from anywhere in the world.
To use Epson Connect, you first need to set it up on your printer. During setup, register your printer to your Epson Connect account. Once done, you can send print jobs through email or apps like Epson iPrint.
This method is great for remote printing and works well with both home and office printers.
FAQs: A Common Question
Why won’t my Epson printer connect to my Wi-Fi network?
There are a few common reasons why your Epson printer might not connect to Wi-Fi:
-
Weak Wi-Fi signal: If your printer is too far from the router, it may not get a strong enough signal. Try moving the printer closer to your Wi-Fi router.
-
Wrong Wi-Fi password: Make sure you are entering the correct password. Double-check for capital letters, numbers, and special characters.
-
Network issues: Your router may be having trouble. Restart both your router and printer. Wait a few minutes and try connecting again.
-
Printer not in setup mode: Some printers need to be placed in Wi-Fi setup mode before they can connect. Follow the correct steps for your model.
-
Too many devices on the network: If many devices are using your Wi-Fi at once, your printer might not be able to join. Disconnect a few devices and try again.
-
Firmware not updated: An outdated printer firmware can also cause connection problems. Visit Epson’s website to check for updates.
If none of these steps work, ensure it’s within range of your router and that the Wi-Fi password is correct. Try restarting both your router and printer. You may also need to use the printer’s control panel to select the correct network or reset the network settings.
This Video Demonstrates How to Connect Your Epson Printer to Wi-Fi
Read More: How to Clean Epson Printer Head