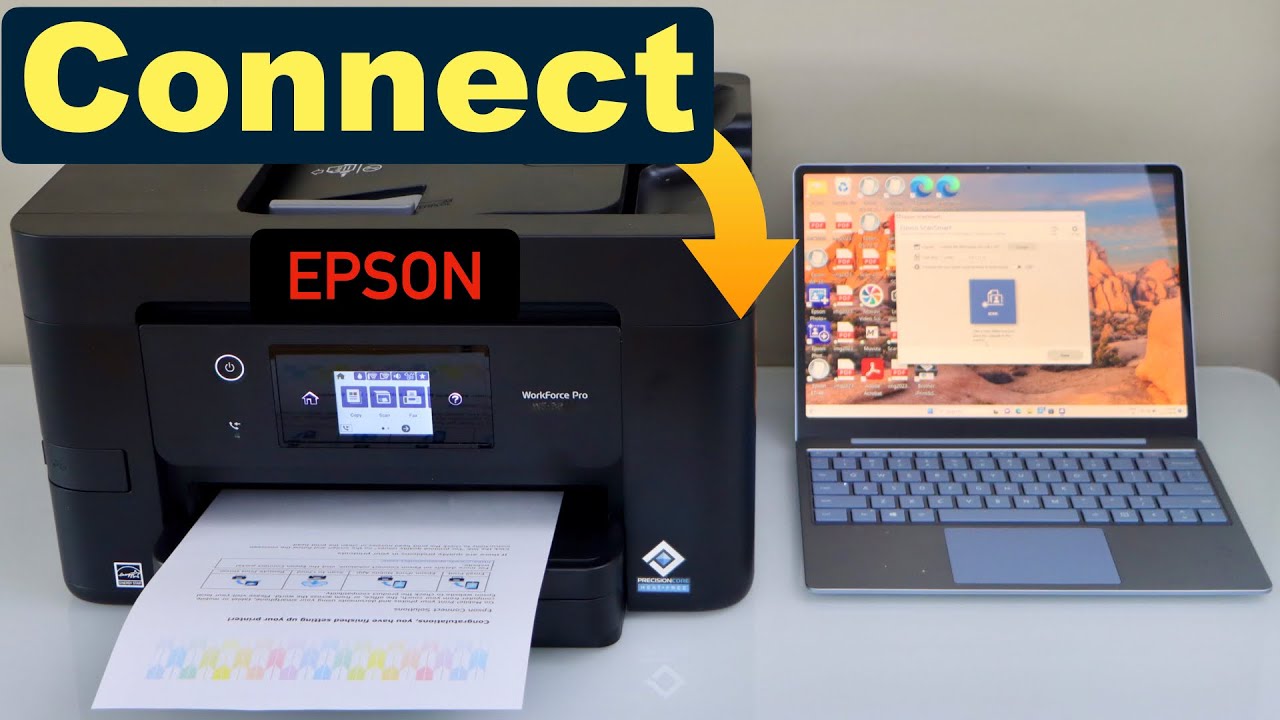
Connecting your Epson printer to a computer is an important first step before you can start printing your documents or photos. Whether you’re setting up a printer for the first time or reconnecting an old one, the process is simple when you follow the right steps. Epson printers support both USB and wireless connections, giving users flexibility based on their needs.
In this guide, we’ll show you how to connect your Epson printer using both methods—USB and Wi-Fi. Each method has its own steps, and we’ll explain them in an easy-to-understand way. You’ll also learn how to install the right drivers and set up the printer on your computer.
Connecting with a USB Cable
-
Connect the cable:
To begin, take a standard USB cable that is compatible with your Epson printer. Plug one end of the cable into the USB port on the back or side of the printer. Then, plug the other end into a free USB port on your computer. Make sure both devices are turned on. Most Epson printers will show a small notification or light to confirm that the cable connection is successful. -
Install drivers:
After connecting the printer, your computer might automatically detect it and begin installing the required drivers. If it doesn’t, you’ll need to install them manually. Visit the official Epson Support website and search for your printer model. Download the latest drivers and software available for your operating system. Follow the on-screen instructions to complete the driver installation. Drivers help your computer communicate with the printer properly, so this step is important. -
Add printer:
Once the drivers are installed, go to your computer’s settings. If you’re using Windows, open the “Control Panel” and select “Devices and Printers” or go to “Settings” > “Devices” > “Printers & scanners.” Click on “Add a printer or scanner.” Your Epson printer should appear in the list. Select it and click “Add device” to complete the setup. For macOS users, go to “System Preferences” > “Printers & Scanners,” click the plus (+) button, and select your Epson printer from the list.
After setup, print a test page to make sure everything is working correctly. USB connections are usually stable and don’t require much troubleshooting once set up.
Connecting Wirelessly (Wi-Fi)
-
Ensure the printer is on the same Wi-Fi network:
Before starting, make sure your Epson printer is turned on and connected to the same Wi-Fi network as your computer. You can usually connect the printer to Wi-Fi by using its control panel. Look for the “Network” or “Wi-Fi Setup” option in the printer menu. Follow the instructions to choose your home Wi-Fi network and enter the correct password. A wireless signal icon on the printer’s display usually confirms a successful connection. -
Add the printer in your computer’s settings:
Once your printer is connected to Wi-Fi, go to your computer’s settings. On a Windows computer, open “Settings” > “Devices” > “Printers & scanners.” On a Mac, go to “System Preferences” > “Printers & Scanners.” Click “Add a printer or scanner.” Your computer will start searching for nearby printers connected to the same network. When your Epson printer appears in the list, select it. -
Follow prompts:
After selecting the printer, your computer may ask you to complete a few setup steps. This may include entering the printer’s network credentials or installing drivers. Follow the on-screen prompts carefully. Once done, the printer will be added to your device list. Try printing a test page to confirm that everything is working correctly.
Wireless printing gives you more flexibility, allowing you to print from anywhere within your Wi-Fi range. It’s a great option for homes and offices with multiple users.
Additional Tips
Epson Connect:
Many Epson printers come with a special feature called Epson Connect. This service allows you to print documents and photos from your smartphone, tablet, or even by sending an email directly to your printer. It’s useful when you need to print on the go or from a device that isn’t connected to your computer. To use this feature, you’ll need to register your printer on the Epson Connect website and follow the setup steps provided.
Download Navigator:
Epson offers a helpful tool called Download Navigator. This software helps you quickly find and download the correct drivers, utilities, and firmware updates for your specific printer model. It ensures that your printer runs smoothly and stays up to date with the latest features and improvements. You can download this tool from the official Epson website.
Check printer documentation:
Each Epson printer model may have slightly different setup steps or features. That’s why it’s always a good idea to read the printer’s user manual or setup guide. These documents usually include helpful diagrams, step-by-step instructions, and troubleshooting tips. If you run into any problems during setup, the manual can often help you solve them quickly.
By following these extra tips, you’ll be better prepared to connect and use your Epson printer efficiently.
This Video Demonstrates How To Connect an Epson Printer To a Computer
Read More: How to Replace Ink Cartridges in Your Epson Printer
