A clogged nozzle is one of the most common issues faced by 3D printing enthusiasts. Whether you’re a beginner or an experienced user, a dirty or blocked nozzle can lead to poor print quality, under-extrusion, or even complete print failures.
Regular nozzle maintenance is essential to keep your 3D printer running smoothly. In this comprehensive guide, we’ll cover everything you need to know about cleaning your 3D printer nozzle—from simple manual cleaning to advanced techniques like cold pulling and chemical soaking.
By the end of this article, you’ll be able to:
✔ Identify nozzle clogs before they ruin your prints.
✔ Safely clean your nozzle using multiple proven methods.
✔ Prevent future clogs with proper maintenance.
Why Does a 3D Printer Nozzle Get Clogged?
Before we jump into cleaning methods, it’s important to understand why clogs happen in the first place. Common causes include:
-
Low-quality filament (dusty, contaminated, or inconsistent diameter).
-
Overheating or carbonized filament (burnt residue inside the nozzle).
-
Foreign particles (dust, debris, or previous filament remnants).
-
Moisture in filament (causes bubbling and inconsistent extrusion).
-
Improper retraction settings (filament gets stuck inside the nozzle).
Knowing the root cause helps in choosing the best cleaning method.
Tools You’ll Need for Nozzle Cleaning
Before starting, gather these essential tools:
✅ Needle or nozzle cleaning tool (0.4mm or matching nozzle size)
✅ Tweezers or pliers (for removing excess filament)
✅ Small wire brush or brass brush (for external cleaning)
✅ Isopropyl alcohol (IPA) or acetone (for deep cleaning)
✅ Heat-resistant gloves (to avoid burns)
✅ Blowtorch or lighter (for extreme clogs)
✅ Replacement nozzle (in case cleaning fails)
Now, let’s explore the best cleaning techniques.
Method 1: Basic Nozzle Cleaning (For Minor Clogs)
Step 1: Heat the Nozzle
-
Preheat your 3D printer to the standard printing temperature for your filament (e.g., 200°C for PLA, 230°C for ABS).
-
This softens any stuck filament, making it easier to remove.
Step 2: Remove Excess Filament Manually
-
Use tweezers or pliers to gently pull away any oozing filament.
-
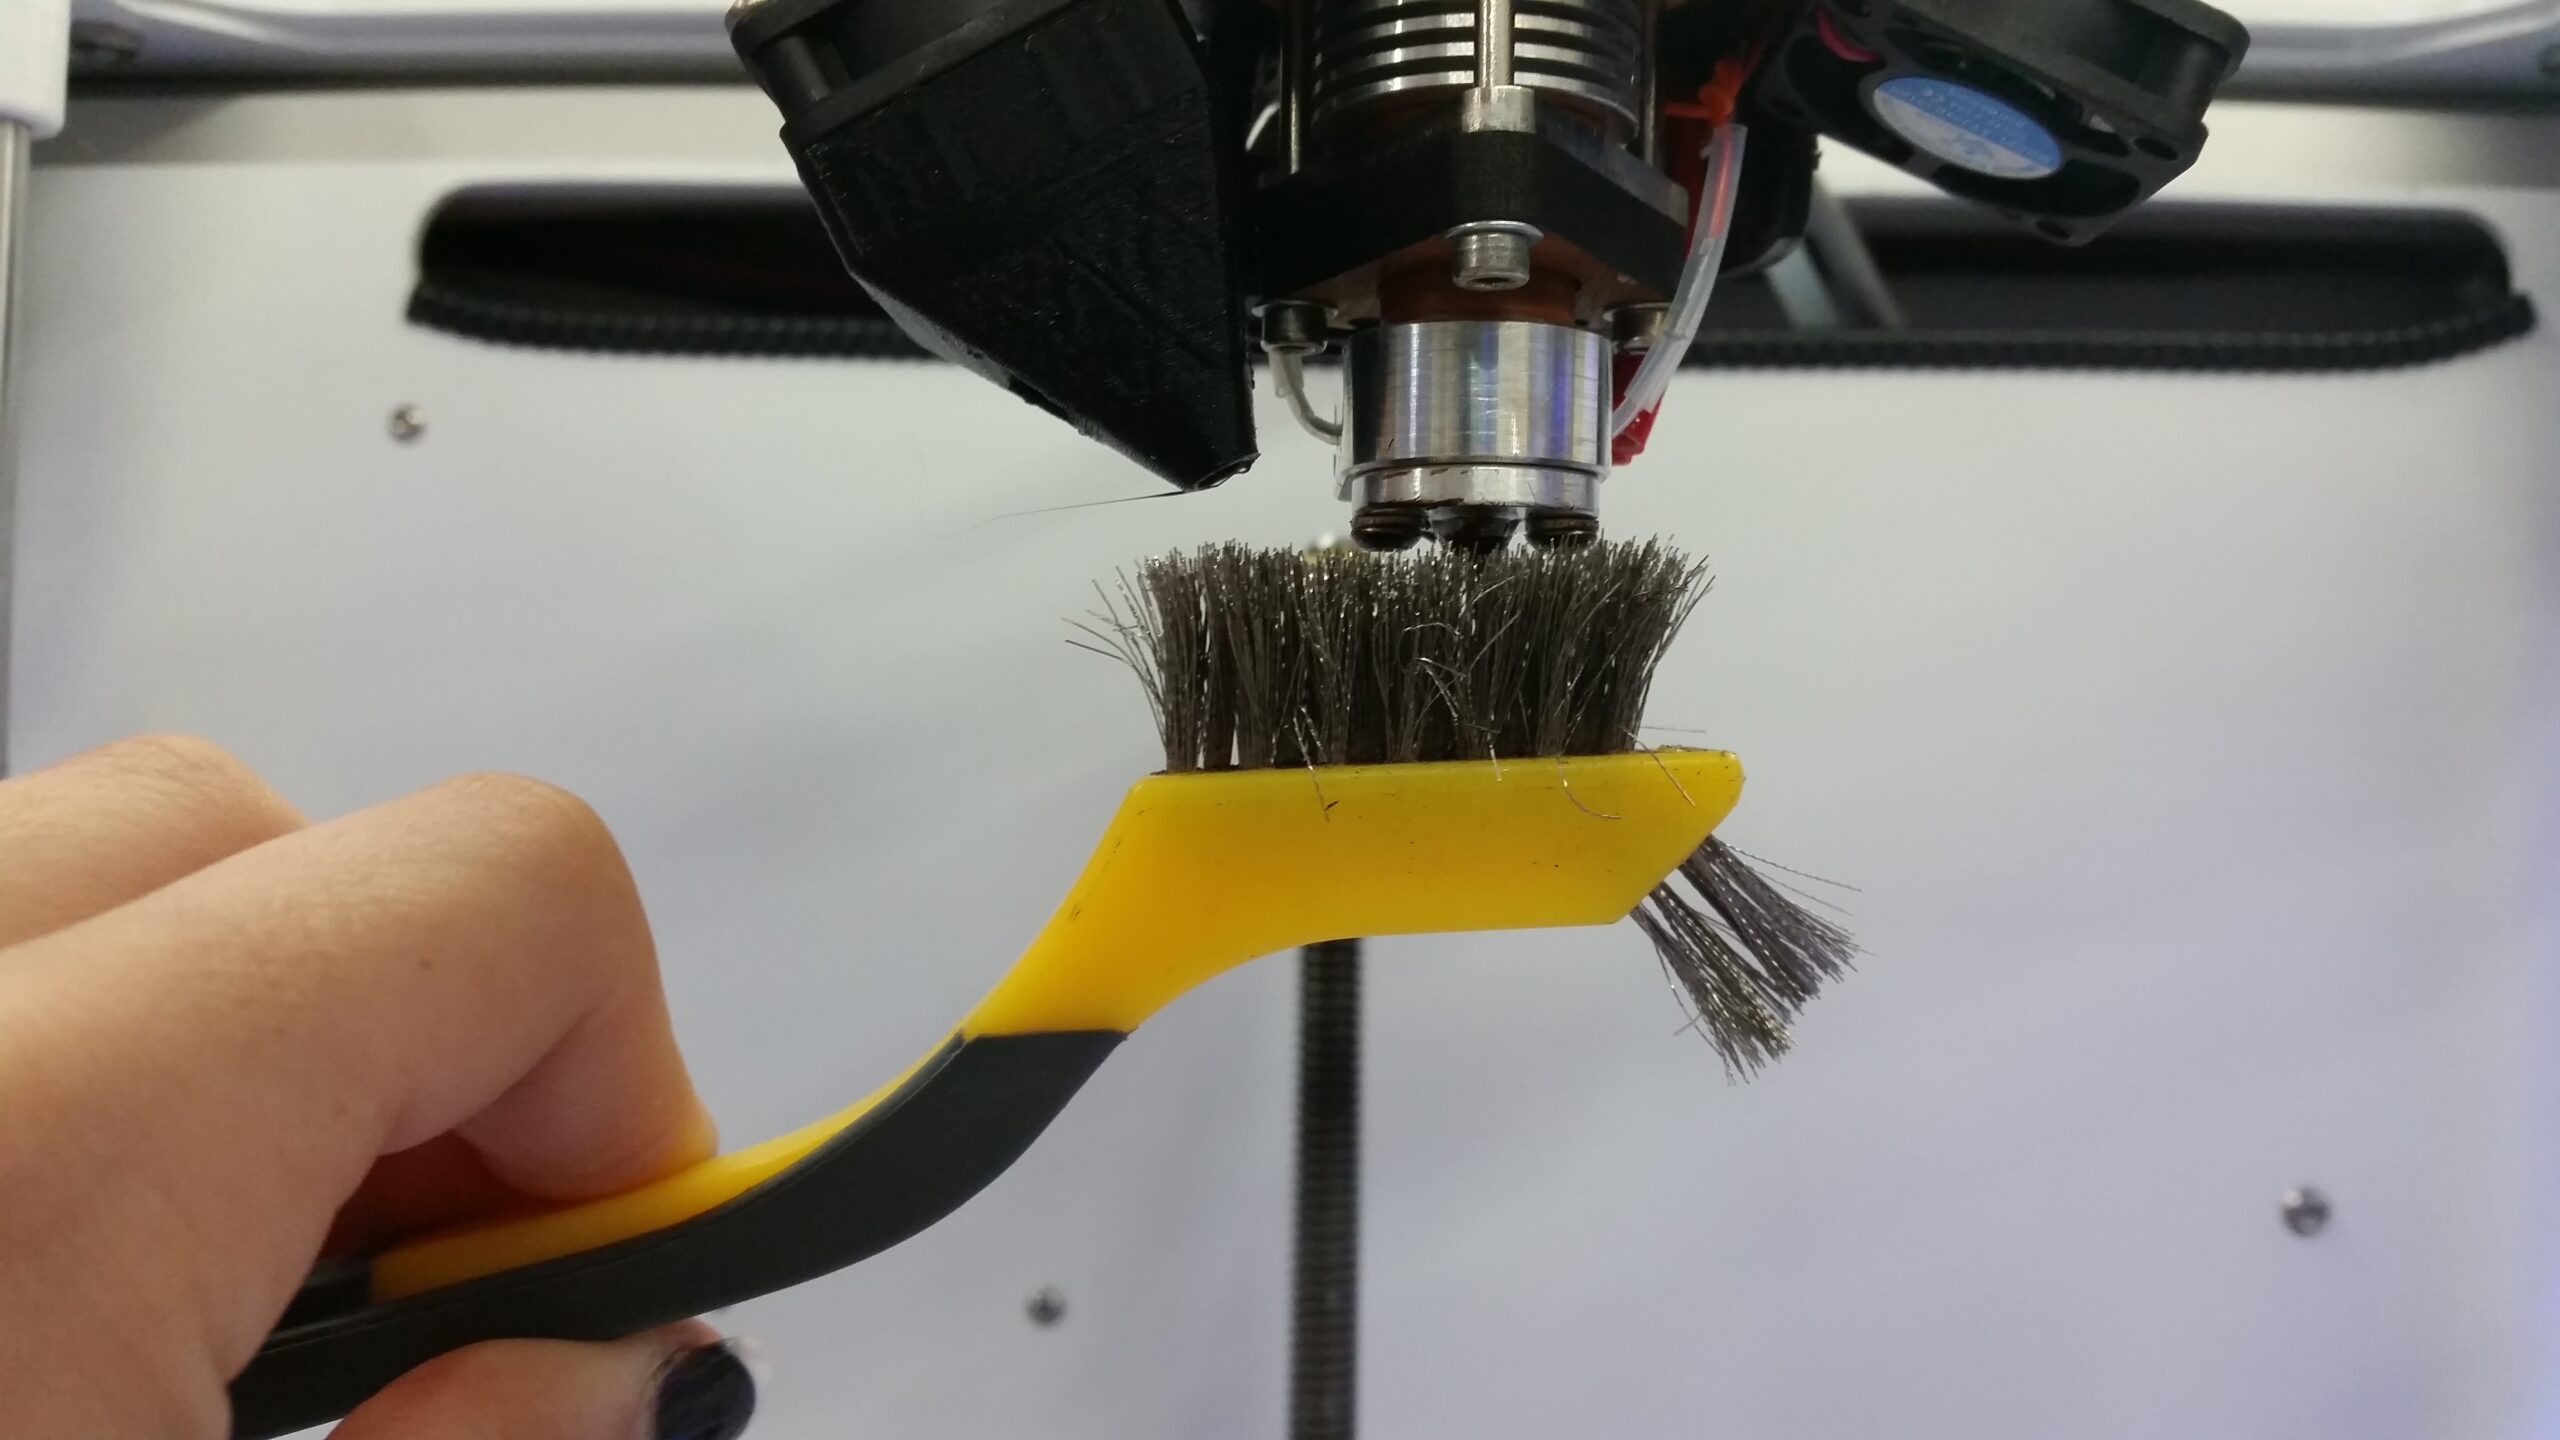
Wipe the nozzle with a brass brush to remove external residue.
-
Avoid using steel brushes—they can scratch the nozzle.
Step 3: Clear the Nozzle with a Cleaning Needle
-
Insert a 0.4mm nozzle cleaning needle (or acupuncture needle) into the nozzle while hot.
-
Move it gently in and out to dislodge any stuck material.
-
Repeat until filament flows smoothly when extruded.
When to use this method:
✔ For minor clogs or routine maintenance.
✔ When filament is still extruding but unevenly.
Method 2: The Cold Pull (Atomic Method) – Best for Stubborn Clogs
The cold pull (or “atomic method”) is one of the most effective ways to remove deep clogs without disassembling the nozzle.
Step 1: Heat the Nozzle to Printing Temperature
-
Set the nozzle to the normal printing temp for your filament.
Step 2: Load and Push Filament Through
-
Insert a piece of nylon or PLA filament manually until it extrudes slightly.
Step 3: Cool Down and Pull
-
Let the nozzle cool to 90°C (for PLA) or 100°C (for ABS).
-
Once cooled, sharply pull the filament out—this should bring debris with it.
-
Repeat if necessary until the filament comes out clean.
Why it works:
The filament acts like a “plug,” grabbing stuck particles as it’s pulled out.
Best for:
✔ Removing carbonized filament.
✔ Clearing partial clogs that needles can’t fix.
Method 3: Deep Cleaning with Solvents (For Extreme Clogs)
If manual cleaning and cold pulls don’t work, chemical cleaning may be necessary.
Option 1: Soaking in Acetone (For ABS & PETG)
-
Remove the nozzle from the printer (use a wrench while hot).
-
Soak it in pure acetone for 4-6 hours.
-
Scrub gently with a toothbrush, then rinse with water.
Option 2: Isopropyl Alcohol (For PLA & Soft Clogs)
-
Soak the nozzle in 90%+ isopropyl alcohol (IPA) for 1-2 hours.
-
Use a needle to clear any remaining residue.
Warning:
❌ Do NOT use acetone on PLA—it won’t dissolve properly.
❌ Avoid soaking for too long, as it may damage brass nozzles.
Method 4: Using a Blowtorch (Last Resort for Metal Nozzles)
For completely blocked nozzles, a blowtorch can burn away stubborn residue.
Steps:
-
Remove the nozzle using a wrench.
-
Heat it with a butane torch until glowing red.
-
Let it cool, then scrub with a brass brush.
-
Check if filament can pass through.
⚠️ Caution:
-
Only use this on all-metal nozzles (not plated or plastic parts).
-
Avoid overheating, as it can warp the nozzle.
Preventive Maintenance: How to Avoid Nozzle Clogs
The best way to deal with clogs is to prevent them in the first place.
1. Use High-Quality Filament
-
Cheap filament often contains impurities that clog nozzles.
-
Store filament in a dry, sealed container with desiccant.
2. Regular Nozzle Checks
-
Clean the nozzle every 50-100 printing hours.
-
Inspect for wear—brass nozzles degrade over time.
3. Optimize Retraction Settings
-
Too much retraction can pull molten filament into the heat break, causing jams.
4. Install a Filament Filter
-
A simple sponge or foam filter on the filament removes dust before it enters the nozzle.
When to Replace Your Nozzle Instead of Cleaning It
Sometimes, cleaning isn’t enough. Replace your nozzle if:
🔹 The hole is enlarged or deformed (causing over-extrusion).
🔹 There’s permanent corrosion or damage.
🔹 Repeated clogs occur even after deep cleaning.
Nozzles are inexpensive, and swapping them can save time and frustration.
Final Thoughts
A clean nozzle is critical for high-quality 3D prints. Whether you’re dealing with a minor clog or a completely blocked nozzle, the methods above will help you restore optimal performance.
Quick Recap:
-
Basic cleaning: Use a needle and brush for minor issues.
-
Cold pull: Best for deep internal clogs.
-
Chemical soak: For dissolving stubborn residue.
-
Blowtorch: Last resort for metal nozzles.
References
- ↑https://youtu.be/lixQgJUVNLc?t=97
- ↑https://youtu.be/lixQgJUVNLc?t=110
- ↑https://youtu.be/lixQgJUVNLc?t=141
- ↑https://youtu.be/lixQgJUVNLc?t=161
- ↑https://youtu.be/lixQgJUVNLc?t=171
- ↑https://all3dp.com/2/3d-printer-nozzle-cleaning-the-easiest-way-to-do-it/
- ↑https://youtu.be/JZTeEvJrfzA?t=10
- ↑https://youtu.be/g8uvh6kvr54?t=265
- ↑https://youtu.be/JZTeEvJrfzA?t=92
Read More: How to Connect a Printer to an iPad: A Step-by-Step Guide
If you’re still experiencing issues, drop a comment below, and we’ll help troubleshoot!