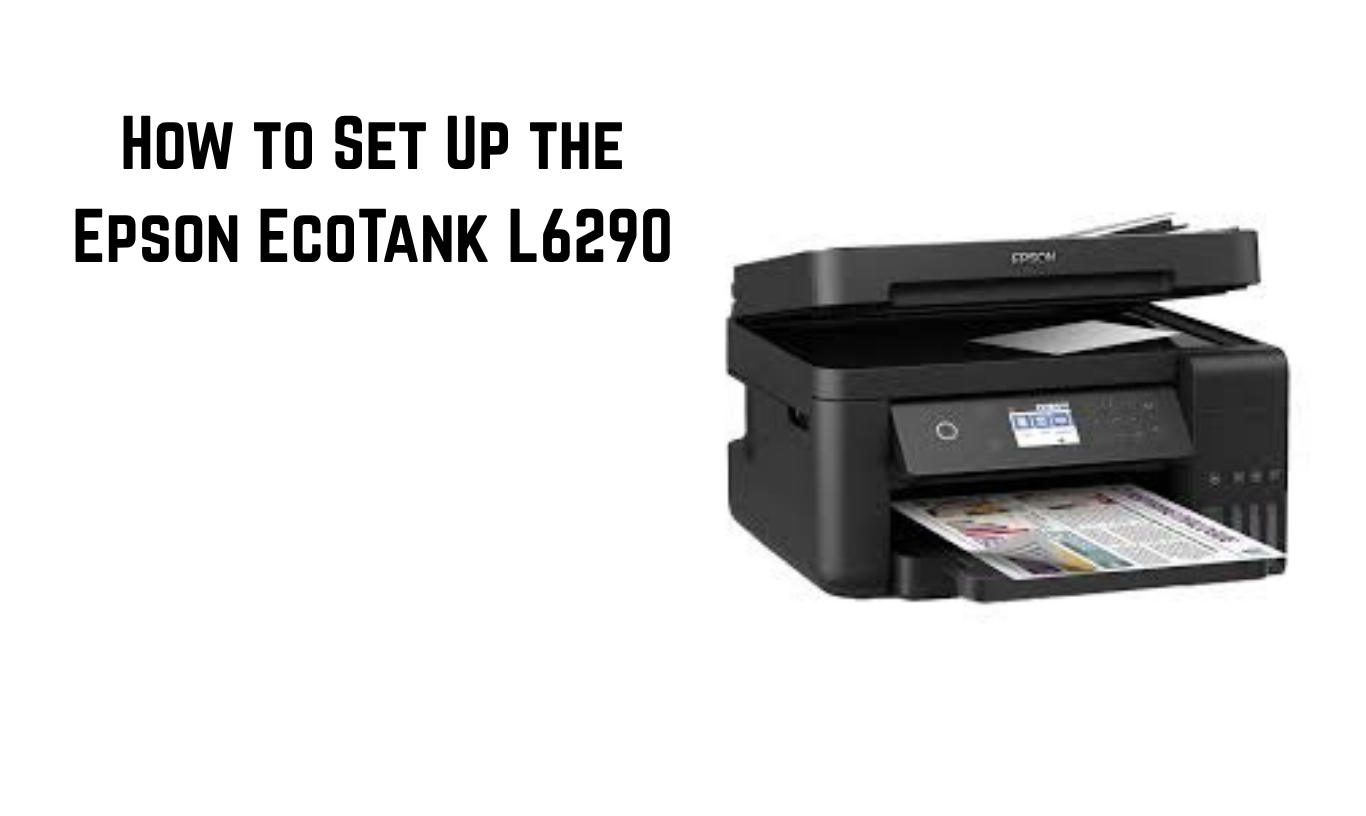
The Epson EcoTank L6290 is a wireless all-in-one inkjet printer known for its low running costs, high-yield ink tanks, and reliable performance. But to get the best results from your printer, you must set it up correctly from the start. Whether you’re a first-time user or just need a refresher, this detailed guide will walk you through every step—from opening the box to completing your first print.
This guide covers:
-
Unboxing and Checking Package Contents
-
Installing Ink Bottles Properly
-
Loading Paper into the Tray
-
Connecting to Wi-Fi or USB
-
Installing Drivers and Epson Smart Panel App
-
Performing the First Test Print
Unboxing and Checking Package Contents
Before you begin using your new printer, the first step is safely unboxing it and verifying everything inside.
✅ Step-by-step instructions:
Step 1: Prepare a Safe Workspace
-
Choose a clean, flat surface like a desk or table.
-
Ensure there’s enough space around the printer for ventilation and paper movement.
Step 2: Open the Box
-
Carefully cut the sealing tape on the box.
-
Open the flaps and remove all protective materials on top.
-
Gently lift out the printer using both hands (ask for help if it’s heavy).
Step 3: Check the Box Contents
You should find the following items inside the box:
-
Epson EcoTank L6290 printer
-
4 individual ink bottles:
-
Black (BK)
-
Cyan (C)
-
Magenta (M)
-
Yellow (Y)
-
-
Power cord (USB cable may not be included)
-
Quick Start Guide and User Manual
-
Warranty card
-
Software CD (depending on region)
Important: If any item is missing or damaged, contact Epson support immediately.
Step 4: Remove Protective Materials
-
Peel off all blue protective tapes from outside the printer.
-
Open the scanner lid and paper trays to remove internal foam or plastic pieces.
-
Check the ink tank area to ensure nothing is blocking the nozzles or tanks.
Installing Ink Bottles Properly
The Epson EcoTank L6290 comes with EcoFit ink bottles that are mess-free and easy to install.
✅ Step-by-step instructions:
Step 1: Open the Ink Tank Compartment
-
The ink tank is located on the right side of the printer.
-
Lift the ink tank cover and open the caps for all four ink tanks (BK, C, M, Y).
Step 2: Prepare the Ink Bottles
-
Take the Black bottle first.
-
Remove it from its packaging.
-
Twist off the bottle cap and remove the tamper-proof seal under it.
-
Reattach the cap tightly.
Step 3: Fill the Black Ink Tank
-
Hold the ink bottle upright and insert the nozzle into the black ink tank’s inlet.
-
The bottle will lock into place and start filling automatically without squeezing.
-
Once the tank reaches the upper fill line, the ink flow will stop.
-
Remove the bottle and close the tank cap.
Step 4: Repeat for Cyan, Magenta, and Yellow
-
Follow the same method to fill the Cyan, Magenta, and Yellow tanks.
-
Always use the correct color in the matching tank to avoid damage.
Step 5: Close the Ink Tank Cover
Once all tanks are filled, securely close each tank cap and shut the tank cover.
💡 Note: Do not power on the printer until the ink has been completely filled.
Loading Paper into the Tray
Proper paper loading ensures smooth operation and avoids jams.
✅ Step-by-step instructions:
Step 1: Access the Paper Tray
-
Pull up the rear paper support tray from the back of the printer.
-
Extend the paper support extension for longer paper.
Step 2: Adjust the Paper Guides
-
Slide the side paper guides outward to accommodate your paper stack.
-
You can load A4, Letter, or smaller photo paper sizes.
Step 3: Load the Paper
-
Take a stack of 50–100 clean, wrinkle-free A4 sheets.
-
Please place them in the tray, printable side facing up.
-
Align the paper edges.
Step 4: Re-adjust the Guides
-
Slide the side guides inward so they gently touch the paper edges without bending them.
Step 5: Extend the Output Tray
-
Pull out the output tray at the front to catch printed pages.
⚠️ Avoid overloading the tray, and don’t mix paper types or sizes.
Connecting to Wi-Fi or USB
You can connect the Epson EcoTank L6290 to your PC, laptop, or mobile phone via Wi-Fi or USB cable.
💻 Option 1: Wi-Fi Connection
Step 1: Power On the Printer
-
Plug in the printer and press the Power button.
-
Wait for the startup process to finish.
Step 2: Access Wi-Fi Setup on the Control Panel
-
Use the navigation keys on the LCD screen.
-
Go to Settings > Network Settings > Wi-Fi Setup Wizard.
Step 3: Select Your Wi-Fi Network
-
The printer will display a list of available networks.
-
Select your Wi-Fi name (SSID) and press OK.
Step 4: Enter the Wi-Fi Password
-
Use the on-screen keyboard to enter the password.
-
Confirm when done and press OK.
Step 5: Wait for Connection
-
A message will appear saying “Connected Successfully”.
-
The Wi-Fi icon will show on the screen.
🔌 Option 2: USB Connection
If you prefer a wired connection:
Step 1: Connect USB Cable
-
Plug one end of the USB cable into your printer.
-
Plug the other end into your computer’s USB port.
Step 2: Turn on the Printer
-
Make sure it’s powered on and the connection is tight.
-
The driver installation will start automatically on some systems or continue manually (explained below).
Installing Drivers and Epson Smart Panel App
To print or scan properly, your computer or phone needs the right software and drivers.
💽 Install on a PC or Laptop
Step 1: Visit the Epson Support Page
Go to: https://support.epson.net/setupnavi
Search for EcoTank L6290, select your OS, and download:
-
Printer Driver
-
Scanner Utility
-
Firmware Updater (optional)
Step 2: Run the Installer
-
Double-click the downloaded file.
-
Follow the on-screen prompts.
-
Choose the connection type (Wi-Fi or USB).
Step 3: Finish Setup
-
The software will install drivers and connect your device to the printer.
-
Print a test page if prompted.
📱 Install the Epson Smart Panel App
This free app allows you to print, scan, and manage settings from your phone.
Step 1: Download the App
-
For Android: Use Google Play Store
-
For iOS: Use Apple App Store
-
Search: Epson Smart Panel
Step 2: Launch and Connect
-
Open the app and accept permissions.
-
Tap Add a New Printer
-
The app will scan and find your L6290 on the same Wi-Fi network.
-
Tap to connect and follow the steps to complete pairing.
Performing the First Test Print
Now it’s time to see your Epson EcoTank L6290 in action.
✅ Step-by-step instructions:
Step 1: Open a Document
Use a Word file, image, or test page on your PC or phone.
Step 2: Choose Print
-
On PC: File > Print
-
On Phone: Use the Epson Smart Panel app or system print option
Step 3: Select Your Printer
-
Choose Epson EcoTank L6290 from the list.
Step 4: Adjust Print Settings
-
Select paper size, layout, number of copies, and print quality.
-
For color print, ensure Color Mode is selected.
Step 5: Print
-
Press the Print button.
-
Watch the printer pull paper and begin printing.
Step 6: Inspect Output
-
Check if the print is sharp and clean.
-
If blurry or streaky, run a Nozzle Check from the printer settings.
Final Thoughts
Setting up the Epson EcoTank L6290 doesn’t require tech skills—just a little patience and the right steps. From unboxing and filling ink to Wi-Fi setup and test printing, everything is designed for user convenience. Always follow the setup guide and don’t skip the ink-filling step, as it’s critical for printhead safety.
You can now enjoy wireless printing, scanning, copying, and faxing all from a single compact machine. Whether you’re printing work reports or family photos, the EcoTank L6290 is now ready for everyday use.
Read More: 7 Common Epson EcoTank L4260 Problems And Solutions