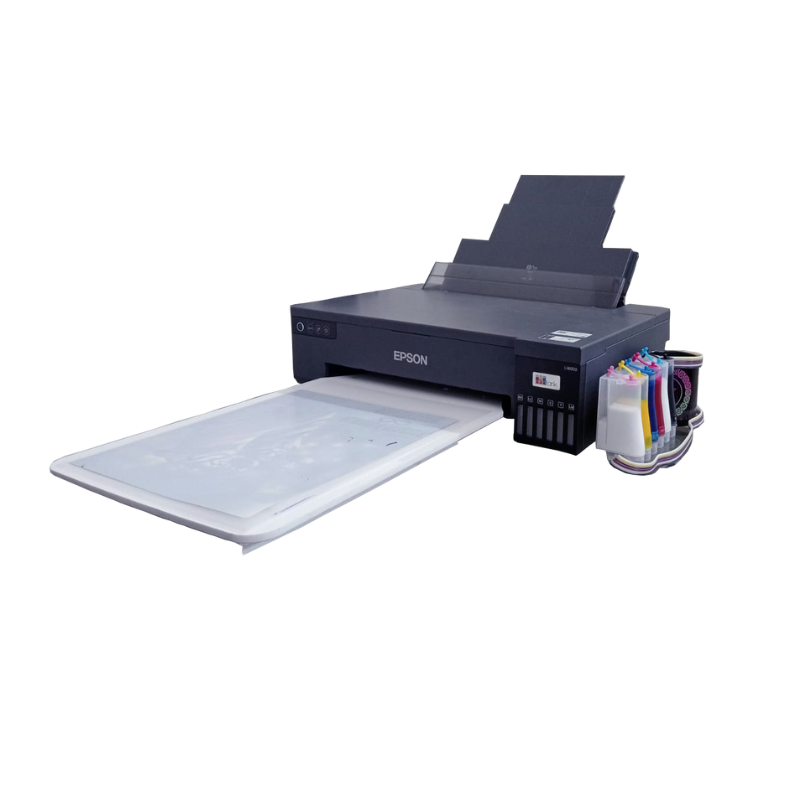
Changing the print size on an Epson printer is easy. Whether you want to print a smaller photo or a larger document, you can adjust the size using the printer settings. This helps you get the exact print size you want. In this guide, you will learn simple steps to change the print size on your Epson printer. This will save you time and paper by printing your documents or images in the right size every time.
Detailed Steps to change the print size on an Epson printer
Changing the print size on your Epson printer is simple when you follow these detailed steps. Each step will guide you clearly to help you get the print size you want.
1. Open the document or image
First, open the file you want to print. This could be a photo, a PDF, or a document from software like Microsoft Word or any image viewer. Make sure the file is ready to print and looks how you want it on the screen.
2. Access print settings
Next, go to the print option. Usually, you can do this by clicking File in the top menu, then selecting Print. You can also press Ctrl + P (Windows) or Cmd + P (Mac) to open the print dialog box quickly.
3. Select your Epson printer
In the print dialog box, find the list of available printers. From this list, choose your Epson printer. It is important to select the correct printer so that the settings you change apply to the Epson device.
4. Access printer properties/preferences
After selecting the Epson printer, look for a button called Properties, Preferences, or Printer Setup. This button opens the printer-specific settings. Click it to open the Epson printer settings window where you can change print size and other options.
5. Locate size adjustment options
In the Epson printer settings window, look for the options related to print size. These might be named differently depending on your printer model but generally include:
-
Document Size/Paper Size: This lets you choose the paper size you are printing on, such as A4, Letter, or Photo sizes. Make sure the paper size here matches the paper loaded in your printer.
-
Scaling/Zoom: This option controls how much the document or image is scaled up or down when printed. For example, 100% means the original size, 50% means half the size, and 200% means double the size. You can enter a custom number or choose from preset options.
6. Apply changes
Once you set the document size and scaling as needed, click OK or Apply to save these settings. Make sure your settings look correct before moving to print. You can usually see a preview in the print dialog to confirm.
7. Print
Finally, click the Print button to start printing your document or image. Your Epson printer will print the file in the size you set.
By following these steps, you can easily control the print size and avoid wasting paper or ink. If the print size still isn’t right, you can repeat these steps and adjust the scaling or paper size again until you get the perfect print.
Additional Tips
Here are some extra tips to help you get the best print size results with your Epson printer.
User-Defined Size
If you want to print a size that is not listed in the standard options, look for a User-Defined or Custom Size option in the printer settings. This lets you enter the exact width and height for your print. It’s useful when printing special projects like custom labels or photo sizes that don’t match common paper sizes.
Preview
Always check the Print Preview before printing. This feature shows you how your document or image will look on the paper with the size settings you chose. Previewing helps you avoid mistakes like cutting off parts of the page or printing at the wrong size.
Control Panel Settings
Some Epson printers have size adjustment settings directly on the printer’s control panel or touchscreen. You can use these buttons to select paper size or scaling before starting the print job from your computer. Check your printer’s manual to see if your model supports this and how to use it.
Epson Universal Print Driver
If you use different Epson printers, the Epson Universal Print Driver can simplify managing print settings. This driver works with many Epson models and lets you control print size and other features in one place, without switching drivers for each printer. It is especially helpful in offices with multiple Epson printers.
By using these tips, you can fine-tune your print size and make printing smoother and more efficient.
This Video Demonstrates How to Set or Change Paper Size in Epson Printer Settings
Final Words
Changing the print size on your Epson printer is easy once you know where to find the settings. By following the steps and tips shared here, you can print your documents and images in the exact size you want. Remember to check the paper size, use scaling or zoom options, and preview your print before starting. These simple actions save you time, paper, and ink. Whether for photos, reports, or creative projects, adjusting print size helps you get better results every time with your Epson printer.
Read More: How to Clean Epson Ecotank Print Head
