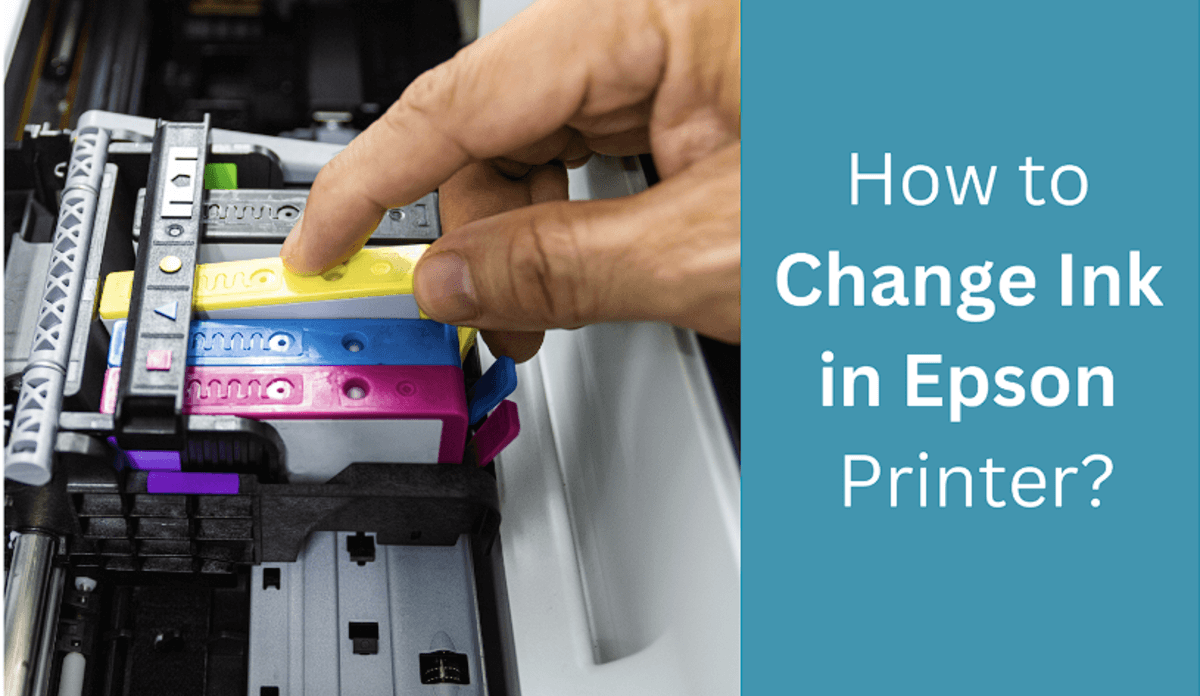
Running out of ink at the wrong time can be frustrating, especially when you’re in the middle of printing something important. Whether you own an Epson printer for home, school, or office use, knowing how to properly change the ink cartridges is essential for maintaining consistent print quality and avoiding unnecessary issues.
In this guide, we’ll walk you through the complete process of replacing Epson printer ink cartridges step by step. From preparing your printer to installing new cartridges the right way, this article covers everything you need to keep your Epson printer running smoothly and efficiently.
🖨️ How to Replace Ink Cartridges in Your Epson Printer
1. Prepare for Replacement
-
Power On: Ensure your printer is turned on.
-
Check Ink Levels: If the printer displays a message indicating low or empty cartridges, note which ones need replacement.
-
Access Maintenance Menu: If you’re replacing cartridges before receiving a low-ink warning, navigate to:
Home > Maintenance > Ink Cartridge(s) Replacement > Next > Start.
2. Access the Ink Cartridges
-
Lift Scanner Unit: Gently raise the scanner unit until it locks into place.
-
Position Print Head: The print head should automatically move to the ink replacement position. If not, close the scanner unit and repeat the previous steps.
3. Remove Old Cartridges
-
Identify Cartridges: Locate the cartridges that need replacement.
-
Remove Cartridges: Squeeze the tab on the cartridge and lift it straight up to remove.
4. Prepare New Cartridges
-
Unpack Carefully: Open the new cartridge package only when you’re ready to install it.
-
Shake Black Cartridge: If replacing the black ink cartridge, gently shake it four or five times. Do not shake color cartridges.
-
Remove Cap: Take off the protective cap from the cartridge.
5. Install New Cartridges
-
Insert Cartridge: Place the new cartridge into the corresponding slot and press down until it clicks into place. Ensure you match the cartridge color to the correct slot.
-
Avoid Errors: Do not place the photo black ink cartridge (PB) into the black ink (BK) slot.
6. Finalize Installation
-
Close Scanner Unit: Lower the scanner unit back into place.
-
Confirm Replacement: On the LCD screen, select ‘Completed’. The printer will begin charging the ink, which may take a few minutes. Wait until a completion message appears before proceeding.
⚠️ Important Tips
-
Immediate Replacement: Always have new cartridges ready before removing old ones to prevent the print head nozzles from drying out.
-
Handle with Care: Avoid touching the green chip or the small window on the cartridge to prevent damage.
-
Proper Disposal: Dispose of used cartridges responsibly. Do not attempt to refill or disassemble them.
For a visual demonstration, you can refer to the official Epson guide:
🔗 Epson XP-6100 Ink Cartridge Replacement Guide
This Video Demonstrates A Quick Way to Change an Epson Ink Cartridge
Read More: How to Connect Epson Printer to Wifi
